Wednesday, 5 August 2020

In Sewing News Today...

I think I'm hooked.  

There's currently 2.1 metres of denim being laundered in preparation for another pair of jeans.  

The turnover on a project from toile to willing to cut into a precious fabric has never been this quick.  

Who knew that making jeans would be what kick-started my sewing mojo?  

I haven't been able to stop wearing the white jeans since I made them.  

They're that comfortable.  

And I can't wait to get started on the next pair.  

I heard that you should pre-wash denim three times before cutting it to make sure there no more risk of shrinkage.  

That's what I'm doing.  

In the meantime, there is more mask making projects in the works.  

Ontario was the first province in Canada to mandate mandatory face masks for grades 4 to 12 students returning to classes next month.  

Alberta announced the same measures yesterday.  

Fingers are crossed that Manitoba will follow with this measure.  

I don't like risks when it comes to denim and viruses.  

Better safe than sorry.  

I'm sewing masks for my friend's daughter.  

They're lucky enough to live in one of the provinces that have a mandatory face mask policy at schools.  


Her favourite colour is purple.  

There is not a lot of purple cotton or linen fabric in my stash.  

I found this polka dot white and purple fabric at Fabricland.  

I feel safer shopping there. 

They make the customers wear face masks from the start of re-opening.  

That in itself deserves my business.  

Everyone in line to get their fabric selections cut were purchasing fabric for facemasks.  

Every. Single. Person. 

Several of them were sewing masks that they sell on Etsy.  

Many were waiting for the bolts of NHL hockey print fabrics to be passed along.  

Funny, no one else seemed interested in the purple fabric.   

This is perfect.  

Because I might have to go back to get more.  

That's all in sewing news today.

Stay Safe, Be Kind and Happy Sewing!

Sunday, 2 August 2020

White Jeans: Butterick 5682

Sewing a pair of boot leg jeans has been on my sewing wish list for a long time. These are a wearable toile.  


It all started with Butterick 5682. It's a pattern that has been in my stash for about as long as I've been thinking about sewing my own jeans. 


I picked up this pattern because its description states that it sits at the waist and I really didn't want to have a pair of low-rise jeans. It's not a good look on me. During the sewing process, I feared that these may also be ones that sit a bit lower than the waistline. 


It didn't help when I was confused with this note found on the waistband. They do indeed sit at the waist, much to my relief. I'm not so sure about the fly front though. It calls for you to cut a seven inch zipper, I think the next pair I'm going to adjust the fly and fly facing pieces to modify this part. And perhaps adjust the crotch depth.   

Next pattern fix, I will be adjusting the size and shape of those front pockets. The front pockets are more decorative than functionable. I need functionable pockets. And since I do have a tummy issue, I would even consider extending the width of the pockets all the way to the fly facing pieces as I have seen in RTW jeans.  

And the length, I didn't quite get it right when I shortened the pattern piece. I missed the mark. It's just a little bit short, actually they're perfect unhemmed. To finish the hem I used seam binding. I'll correct the length on the next pair.  

Since this is a toile, I didn't complete all the top-stitching in the crotch seam. 


The pattern is worth a re-visit and there is some dark denim that I'm willing to cut into for the next pair.  

The fabric used for these white jeans is a 100% cotton soft denim that I found many moons ago at Northwest / Marshall Fabrics. It's the same fabric that I used for the first batch of face masks so I actually have a matching face mask to wear with these. The fabric was pre-treated with a tumble in the washing machine and dryer before hitting the ironing board for a good pressing.  


Project Details

Seams:  2.6 stitch length and 5/8" seam allowances, 2.8 stitch length for top-stitching.  

Seam finish:  Serged

Tips:  Double check the pant leg length with a pair of trousers or jeans that you already like and wear. (This is a reminder for myself).  

Fabric:  2.10 metres

Interfacing:  1.2 metres fusible

Closures:  7" zipper and metal hook.  

PatternButterick 5682

Additional Tools and Supplies:  Cutting table, pins, pin cushions, tailor's chalk, measuring tape, scissors, measuring gauge, thread clippers, tweezers, hand sewing needle, bandage, sewing machine, clear presser foot, zipper foot, serger, threads including jean thread for top-stitching, and tailor's wax, 

Stay Safe, Be Kind and Happy Sewing!

Friday, 31 July 2020

July in Review...


Creativity took a vacation this month.  

I started the month nursing a sore back after altering a costume cape pattern on the floor. I forgot that I'm too old for working bent over on the floor. Once the costume cape toile was complete and out of my hands until a fabric decision and purchase is made, I really didn't want to do anymore sewing. The two projects that I actually did manage to finish this month were two acts of slow sewing. Believe it or not, I had more interest in mending. Strange times. Odd and also a fine month, with my free time filled with tending to garden plants and reading.  

The following items were cleared from the stash:    
  • 6 metres of fabric
  • 1.2 metres of interfacing
  • 1 previously used pattern
  • 1 new pattern
  • 9 buttons
  • 1 label
Stay Safe, Be Kind and Happy Sewing!  

Friday, 24 July 2020

Diamonds Are a Girl's Best Friend: Butterick 6324

The diamond pin-tucking (yes, those kind of diamonds) on this fabric is one of my favourite details on this shirt. I purchased this 100% cotton fabric already pin-tucked many, many moons ago from Mitchell Fabrics. 


The pattern, Butterick 6324 (circa 2016), was found in a sales bin. Otherwise, I don't think I would have picked up this pattern for a simple top. I would have quite simply overlooked this one.  It's a lovely pattern and I'm quite happy that I gave this one a try.  

I really like the fact that there are no darts to interfere with the pin-tucking and the front fly feature gives it a nice clean finish. I switched the sleeve pattern for my favourite sleeve, cuff and placket combination from Vogue 1503.  


Project Details

Seams:  2.8 stitch length, 5/8" seam allowance.  

Seam Finish:  Serged

Tips:  Don't be scared off by this pattern based on Pattern Reviews that mention challenges with the front band.  I didn't find the instructions for this part of the pattern to be challenging at all, perhaps it was a revised printing?  

Fabric:  3 metres (narrow width)

Interfacing:  0.80 metres fusible

Label:  1 "Me Made" label by Kylie and the Machine

Buttons:  9 - 1/2" buttons 

Pattern:  Butterick 6324 and Vogue 1503

Additional Tools & Supplies:  Cutting table, scissors, pins, pin cushions, tailor's chalk, hand sewing machine needle, threads, sewing machine, walking foot, buttonhole foot, serger, screwdriver, tweezers, buttonhole cutter, cutting board, tailor's wax, thread clippers, clapper iron, ironing board, seam ripper, and a few breaks.  

Stay Safe, Be Kind and Happy Sewing!

Tuesday, 14 July 2020

In Sewing News Today (Mending Edition)...

One of the out-comes from the pandemic has been an increased desire to take care of the clothes that I have and a diminished resistance to mending. 


I made this skirt, vintage McCall's 7870, back in 2014. It wasn't worn last year because it was buried in the mending pile. The stress on the top of the double kick pleat caused the fabric to tear. All it needed was a piece of suede, basting tape and a few minutes at the sewing machine. Which begs the question, what took so long to fix it?  


Another consequence of the pandemic has been the pounds that I managed to put on without noticing until the stress on the bottom of the zipper was too much to take. A small section of stitching fixed that in no time. It might take more effort to fix the weight gain issue to prevent further seam breakage. I might have to put aside this skirt until then.  


The armscye of this sweater needed some attention to close gaps along the seam line. It's a ready-to-wear (RTW) decades old cotton sweater. I'm coming to the realization that I might have to try and recreate it one day soon.  


A little hand-stitching for this shirt to close the openings that have recently appeared along the neck band. I know it would last longer if I just top-stitch it close, but I do like the clean look of a hand-stitched neckband.  


Stay Safe, Be Kind and Happy Mending!  


Sunday, 12 July 2020

Costume Cape Toile: Butterick 4377


Okay, I'm sewing a toile for someone who is over six feet tall and wants the finished length to be about two feet over floor length. This is making the project, and the fact that it will be lined, a very expensive venture and the most expensive project that I've undertaken. It's a fabric eater and fabric now-a-days is well, expensive. 

This just adds to the stress of sewing this project and it's only the muslin (toile). I would feel horrible if I made an error during the sewing or cutting stage. So, I will be taking care when sewing this project while dreaming of the day when this project is safely delivered and has left the workspace without any mishaps. [Fingers and toes crossed.]


As noted over on Pattern Review by others who have made this pattern, the hood is huge. I think this is what the person who will be wearing it is looking for but we'll see when the fitting comes around. Some have scaled the size of the hood down to a more manageable size.  

Another wrote:  
One note, however: this is a GIANT project! MAKE SURE that you have plenty of room to cut the pieces out (one panel didn't quite fit completely on my 5' x 4' cutting table) and especially to pin together the completely sewn cape and completely sewn lining. 
I couldn't have agreed more. This fact makes it a very challenging sewing project, finding the room to hold the project while feeding it through the machine so that the weight of the project doesn't drag and distort the stitching. My sewing space is not made for this type of work.  


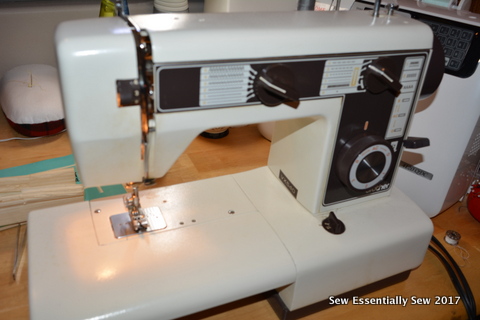
I might have to drag out the vintage brother sewing machine for this project, it handles heavier projects better (fingers crossed) than the Janome machine I'm currently sewing on. Considering the size of the project and the limitations of my sewing space, I won't understitch the lining of this cloak as suggested in the pattern's instruction sheets. I'll just take my time and press with the clapper for a neatly pressed edge.  

I'm also not sold on the pattern's instructions for sewing the hood with the seam binding finish. Those instructions don't make any sense when dealing with four layers of gathered bulk. And as others have pointed out the instructions for this part of the construction are quite perplexing. I again couldn't agree more.  

Abbythomas wrote on her pattern review: 
I have made this cloak several times and have streamlined the process a bit. A French seam to the inside where the hood and cloak meet is also a viable option and provides a little more stability at the shoulder where the weight of the cloak rests. If the French seam is turned to the inside, it doesn't show when the cloak is worn.
These words of wisdom are a priceless, based on experience over several versions and make way more sense than the Butterick instructions. I'll have to refer to Abbythomas' process when it comes to sewing the final version.  

Until the fitting... 

Stay Safe, Be Kind and Happy Sewing!  

Monday, 6 July 2020

Pullover Dress: Vintage Vogue 1606

 
This summer Vogue Patterns released Vogue 1691 an easy to wear pullover dress.  I was smitten with this style but unwilling to pick up the pattern with vintage Vogue 1606 sitting in my collection. The similarities between these two patterns would make adding Vogue 1691 redundant. 


There are some differences between these patterns besides the twenty-five year age difference.  Vogue 1691 has princess seams, a rounded neckline and a longer length. Whereas, vintage Vogue1606 has side slits, square neckline and mid-knee length.  


The only thing I like that the current Vogue 1691 has over the vintage Vogue 1606 was the length. And  with Vogue 1691 as my inspiration, that is how this dress came to be. I started with adding four inches to the length and borrowing the pocket pattern from Vogue 9237. I prefer the square neckline on the vintage pattern and how it's finished with the top stitched facing.  


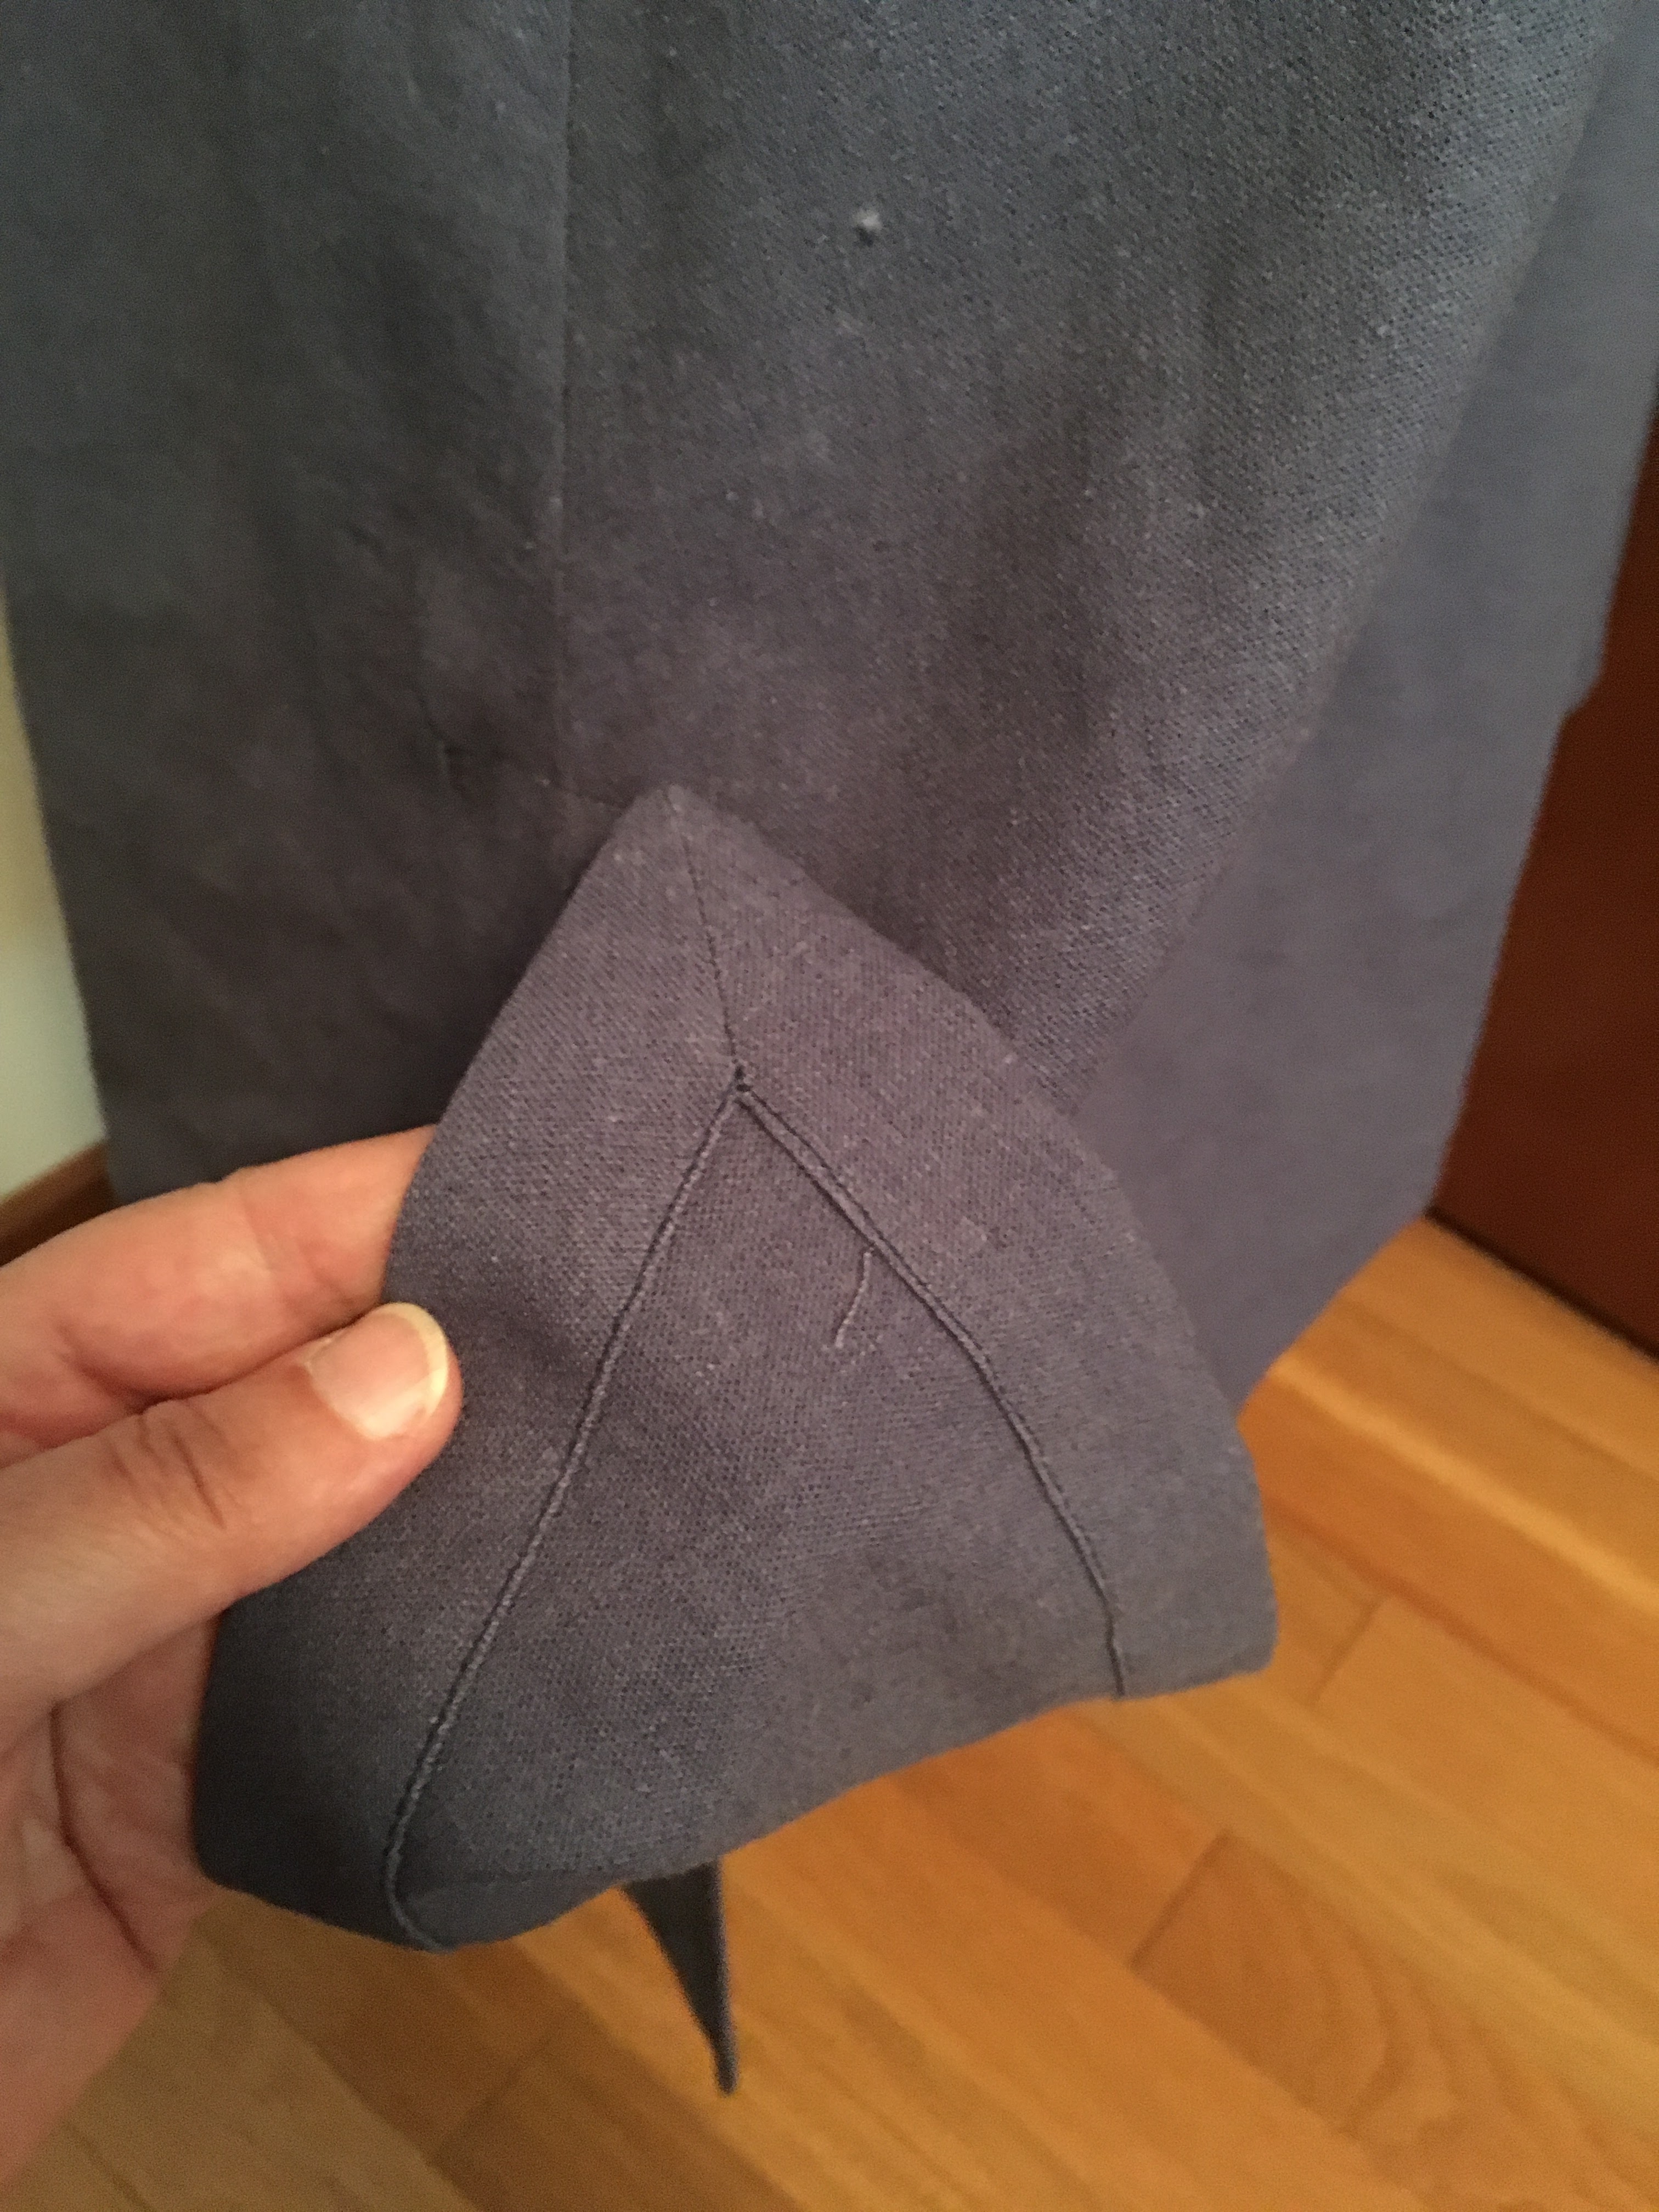
The hemline is finished with mitered corners and top-stitched in place. I really like the finishing details suggested in the vintage pattern over the bias finish suggestion of the modern one.  


The fabric is a medium weight cotton that has been in the stash for decades. It came from Fanny Fabrics, a once local fabric store that has long closed down. The fabric was previously pre-treated and with a quick press, it was ready to hit the cutting table.  There is enough scraps to make a couple of matching face masks to go with the dress.  


Project Details

Seams:  Straight stitch 2.6 length 

Seam Finishes:  Top-stitch with 2.8 length, pockets and side seams were finished with the serger.  

Tips:  Search your pattern stash for some vintage finds, sometimes with some minor tweaks and length adjustments you can recreate the latest pattern releases.  

Fabric:  3 metres

Interfacing:  0.4 metres

Pattern:  Vintage Vogue 1606

Additional Tools & Supplies:  Flip chart paper, pencil, straight edge ruler, curve ruler, cutting table, pins, pin cushions, tailor's chalk, measuring tape, measuring gauge, iron, ironing board, sewing machine, walking foot, serger, threads, tweezers, thread clippers, scissors, hand sewing needle, tailor's wax, clapper and a whole lot of distractions.  

Stay Safe, Be Kind and Happy Sewing!


Stash busting: White Linen Shorts / Vogue 9191

I actually made something appropriate for the summer season and the heat.  Well, I actually did start off the month sewing a linen dress.  N...