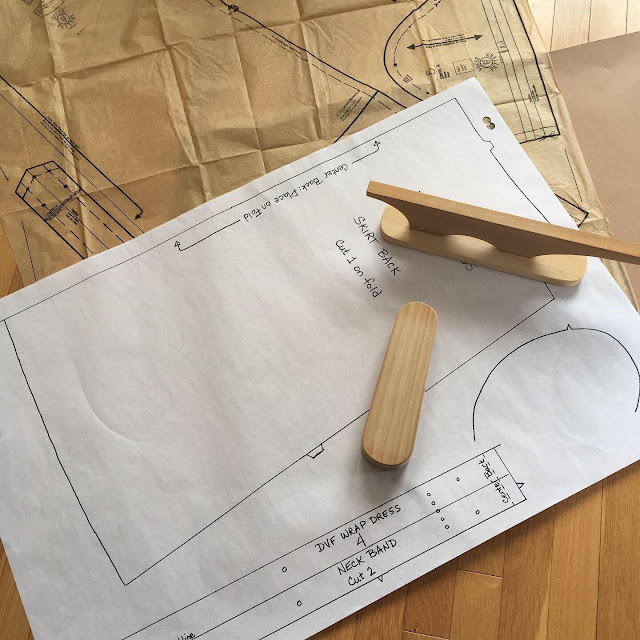
Sewing an authentic Vogue Diane Von Furstenberg designer wrap dress pattern has been on my sewing bucket list for more years than I care to count. So, I won't because I'm really excited to show you the finished project and gush about this pattern.
This dress is made with vintage and out-of-print (OOP) Vogue 1610, circa 1977.
Now, I've made a few wrap dress over the years. There was OOP Vogue 8896, a lovely wrap dress that I made back in 2014. My fabric proved to be a challenge to sew and the polyester fibre content proved too uncomfortable for a prairie summers. OOP Vogue 7014 is another wrap dress pattern that I tried and ended up making three versions in 2016. Again, polyester knit was the fabric choice, not the best choice. And then I tried OOP Vogue 8827 wrap dress pattern in 2021. Yup that one didn't work out as a wrap dress and ended up as a cardigan jacket. And then there was vintage Simplicity 8032, another wrap dress project from 2014. It was a fun make and even though I thought I might revisit the pattern because it could be made in woven fabric, I did not. All of these wrap dress designs were lovely in their own right. Yes, I did refer to them in the past tense. They are no longer part of my current wardrobe. Simply, they just don't compare to the DVF Vogue 1610 design.
Diane Von Furstenberg's name is widely associated with the iconic wrap dress design despite the fact that other designers have designed wrap dresses before and since.
There is a reason why DVF stands alone as the wrap dress gold standard. It's all about the fit. I didn't realize this simple fact while I worked through all those Vogue and Simplicity versions.
I'm absolutely smitten with the shape of the skirt and those soft gathers, the tuck instead of back bodice darts and the placement of the sleeves that sit perfectly at the shoulder.
Oh, and fabric matters. If you get your hands on a vintage DVF wrap dress pattern, pay attention to the stretch recommendation on the pattern envelope. A four-way stretch or polyester ity knit might not give you the fit you desire.
I didn't mess with the design too much. Size-wise, I didn't make any adjustments and I won't have to in the future. I did omit the side pockets after realizing that I didn't raise the pocket height while I cut out the fabric. And now that it's done I believe that the placement of the pockets would have been fine. I don't miss the pockets and will likely leave them off in the next versions. The pattern calls for a three inch hem. Instead, I cut three inches off the length and opted for a 5/8" top stitched hem. The sleeve calls for a small tuck detailing above the hem edge. Even though I thought this was a sweet detail, I didn't sew this design feature.

My fabric is a cotton jersey that I found at Northwest / Marshall Fabrics. It is a lovely two-way stretch. It was pre-treated with a tumble in the wash, followed by some drying time in the dryer before hitting the cutting table to discover it shrunk! Thankfully, I started with 3 metres of fabric (more than listed on the pattern envelope) and with careful pattern piece placement I had, literally, just enough length.
Words can't justify the fun I had sewing this project, the details that I admired, and the fit that I couldn't have imagined until I put it on.
Project Details
Seams: lightning bolt / knit stitch
Seam finish: Serged
Fabric: 3 metres cotton knit jersey
Knit 'N Stable tape: 0.2 metres
Pattern: OOP Vogue 1610
Additional Tools and Supplies: Flip chart paper (for pattern tracing), clappers (used as paper weights), black marker, straight ruler, curved ruler, cutting table, measuring tape, scissors, tailor chalk, pins, pin cushion, sewing machine, ball point needle, walking foot, serger, threads, iron, ironing board, hand sewing needle, and many tea breaks.
Stay Safe and Keep Sewing!


