
I marked the pleat lines with chalk by holding my ruler over the pattern. I folded the pattern along the line to expose the wrong side of the fabric in order to transfer the pleat lines. Once I had all the pattern markings transferred onto my fabric I hand basted along the pleat lines. I remove these when the dress is finished. This way I'll have a chance to get some nice pleat presses in. Mind you sew does Sunni's methods.
That is what I like about participating in sew-alongs, even if I don't follow to the T it is nice to see how others go about to achieve the same feature. I will try clipping the pleat ends like Sunni did next time I'm making pleats.
The collar of the dress is a Peter Pan collar. Just like Sunni's sew-along post, I curved the collar point with the French ruler.
Sunni's facing instructions were perfect. I opted to follow the pattern instructions because of the weight of my fabric and I didn't want the added bulk at the back neck. If I had a lighter fabric or didn't interface I would have followed along that route.
I have to say that Sunni posted a much appreciated link about fusible interfacing. I was going to hand-stitch non-fusible interfacing until I read the link and I'm happy to report there is no puckering.
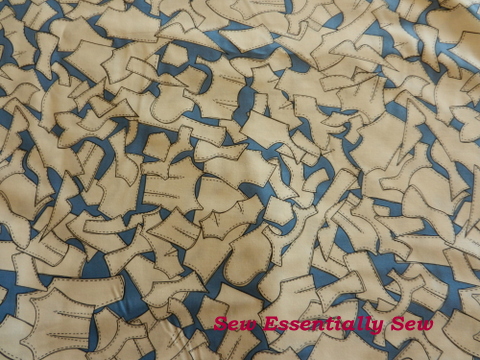 What else do I have to report. This dress has no side zipper, it is an easy dress to pull over I thought why bother. As previously mentioned I opted for a different skirt. This dress is a mash-up of Project Runway's Simplicity 1880 bodice and Fashion Star's McCall's 6554 skirt. I eliminated the back skirt seam and kept the front skirt pleat.
And I found this 100% cotton fabric in the quilting section of my local Fabricland store. I think that it is fun with the little pattern pieces print.
Thanks Sunni, I love my new dress.
Happy Sewing!


.jpg)


It's absolutely lovely! I adore the fabric! How clever! Wonderful job!
ReplyDeletexoxo,
Sunni
Thanks!
ReplyDeleteGreat job on the dress! It turned out quite lovely. I've had this pattern since it came out, and I'm itching to sew it up!
ReplyDeleteThanks, I would highly recommend this pattern. I love the details on the bodice and sleeves.
Delete